Sep52012

Bratwurst Stew

Bratwurst Stew

Yes, it’s another crockpot meal. Sorry! But not really because this is delicious.

Unfortunately I don’t remember where I got this one, since it’s just a text printout in my binder. I know I made several changes to it and didn’t want to print out the original just to have scribbles and edits all over it, so if I do find it again I’ll be sure to link it.

Anyway, this Bratwurst Stew is one of my top favorite crockpot meals. I realize I say that about most of them, but honestly, I’m just really not that hard to please.

Bratwurst Stew

Bratwurst Stew

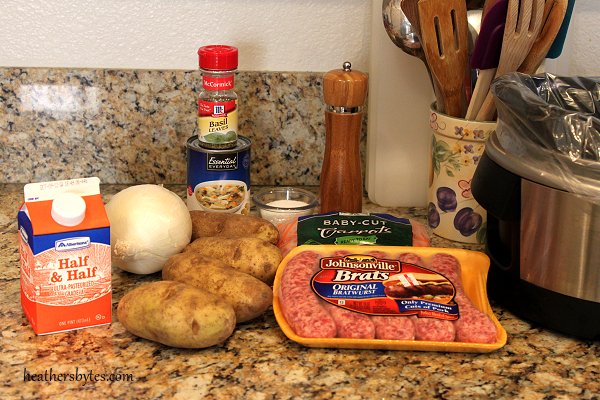
4 potatoes, peeled and cubed (large cubes, about 1″ each)
1 cup chopped baby carrots
1 small onion, chopped
1 package raw bratwurst links
1 can (14 oz) chicken broth
1 teaspoon salt
1 teaspoon pepper
1 teaspoon dried basil

1 pint half-and-half
3 tablespoons cornstarch
3 tablespoons cold water

In order, place the cubed potatoes, cut carrots, and onion in a crockpot. Remove the raw bratwurst from their casings, and tear off chunks and place over the vegetables. Pour in the chicken stock, and sprinkle the salt, pepper and basil over top. Do not mix.

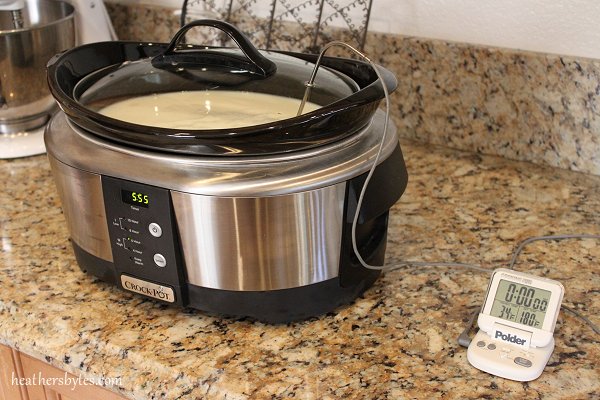
Cover and cook on low for 7 hours or until vegetables are tender and bratwurst is cooked through.

Stir in the half-and-half. Combine the cornstarch and water until smooth and stir into stew. Cover and cook on high for 30 minutes or until sauce is thickened.

Bratwurst Stew

Placing the ingredients in order lets the vegetables all cook until tender, and allows the bratwurst, which is not submerged in the liquid, to brown and not fall apart.

Bratwurst Stew

Once you add the half-and-half and mix everything around (make sure you separate the chunks of bratwurst), the seasonings will get into the rest of the stew, so don’t worry about them only being on the meat.

Bratwurst Stew

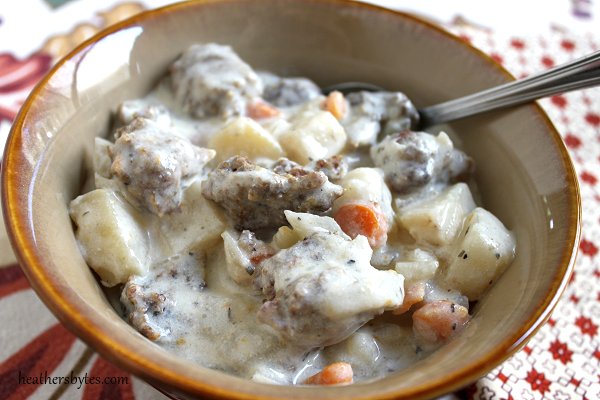
This makes six generous servings, and is delicious re-heated the next day.

Jun272012

Crockpot Greek Yogurt, Redux

Crockpot Greek Yogurt

Several months ago I wrote about making my own Greek yogurt in the crockpot. Since then, I’ve made a batch weekly, and have adapted things a bit to work better for me.

I’m reposting with my streamlined method both as a reference for myself (so I can get rid of my ratty notes) and because Mike’s coworkers have demanded to know where he’s getting the yogurt he eats every morning, and he wants to send them here (hi guys!).

Read More

Jun62012

Homemade Hummus

Homemade Hummus

I love love love hummus, and it was a happy day indeed when I discovered that you could make it at home!

However, I’ve had a hell of a time trying to find tahini, one of the main ingredients, at the grocery store, and I’m not willing to spend $20+ at a specialty shop. So I filed it away in the back of my mind and just bought the tiny, expensive little tubs when I needed it.

But I was on Amazon the other day looking for something completely unrelated, when one of the related search suggestions (seriously) showed a jar of tahini. And it was affordable! And Prime shipping! So I bought it.

It arrived today (along with the unrelated item I needed in the first place), and I picked up several cans of garbanzo beans (also known as chickpeas) while I was at the store this morning.

I hunted around online for a good recipe, and they’re all pretty standard. However, the issue that I had with them is that they all call for two cups of beans. One can of garbanzo beans is 1-1/2 cups, so you need two cans, but you’re not using over half of the second one. I didn’t want it taking up space in the fridge (yesterday was yogurt-making day and salad jarring day), so I dumped both cans into the food processor.

I used this recipe for my jumping off point, and here’s what I did instead:

Homemade Hummus

2 cans garbanzo beans (about 3 cups), drained (reserve some of the liquid)
1/2 cup tahini
1/4 cup lemon juice
1 to 1-1/2 teaspoons kosher salt
4 cloves garlic, halved
1 tsp ground cumin

In a food processor, combine garbanzo beans, tahini, lemon juice, salt, garlic and cumin until smooth. Add some of the drained garbanzo bean liquid if it’s too thick. Test for taste and adjust as needed, pulsing after each addition.

Place in a dish and sprinkle with paprika and a drizzle of olive oil. Serve with sliced veggies and baked pita chips.

Homemade Hummus

I could literally just eat this with a spoon. It’s a thousand times better than store bought, and it makes a ton so you’ve got plenty for some healthy snacking. I tested it out with baby carrots, and my oldest had some with Wheat Thins. I know it’s traditional to serve with pita chips, but I’m trying to lay off the processed carbs for summer, and carrots were perfect (and so were the Wheat Thins).

Store it in a regular plastic container in the fridge, which works well when you have to smooth out the top after a few sneaks.